
sallysbakingaddiction.com
Ah, chocolate chip cookies. They are such a classic – a perfect dessert to munch on, binge on, or just dunk and savor. Whichever way you eat them, we can all agree that chocolate chip cookies are amazing. I found this recipe off Pinterest when searching “best chocolate chip cookie recipe”. The pin lead me to a recipe from Sally’s Baking Addiction. The idea behind this recipe is to make the absolute chewiest cookies possible. I personally love my cookies to be soft and chewy, whereas, my mom prefer them crunchy. It’s the great “Team Edward” “Team Jacob” debate of our household. (Although, I personally would go Team Angel any day). Confession – I kind screwed up at the end and held my cookies in the oven a bit too long. They didn’t burn or anything, they turned out quite well, if I say so myself. However, they weren’t super chewy; they were more like “kind of chewy”. That’s a technical term by the way. So I guess my cookies were a happy medium, both my mom and I approve. I took the liberty to spice up the recipe a bit and add a crunchy helping of hazelnuts into the mix. So, if you would like to know how to make some hazelnut chocolate chip cookies, just keep reading.
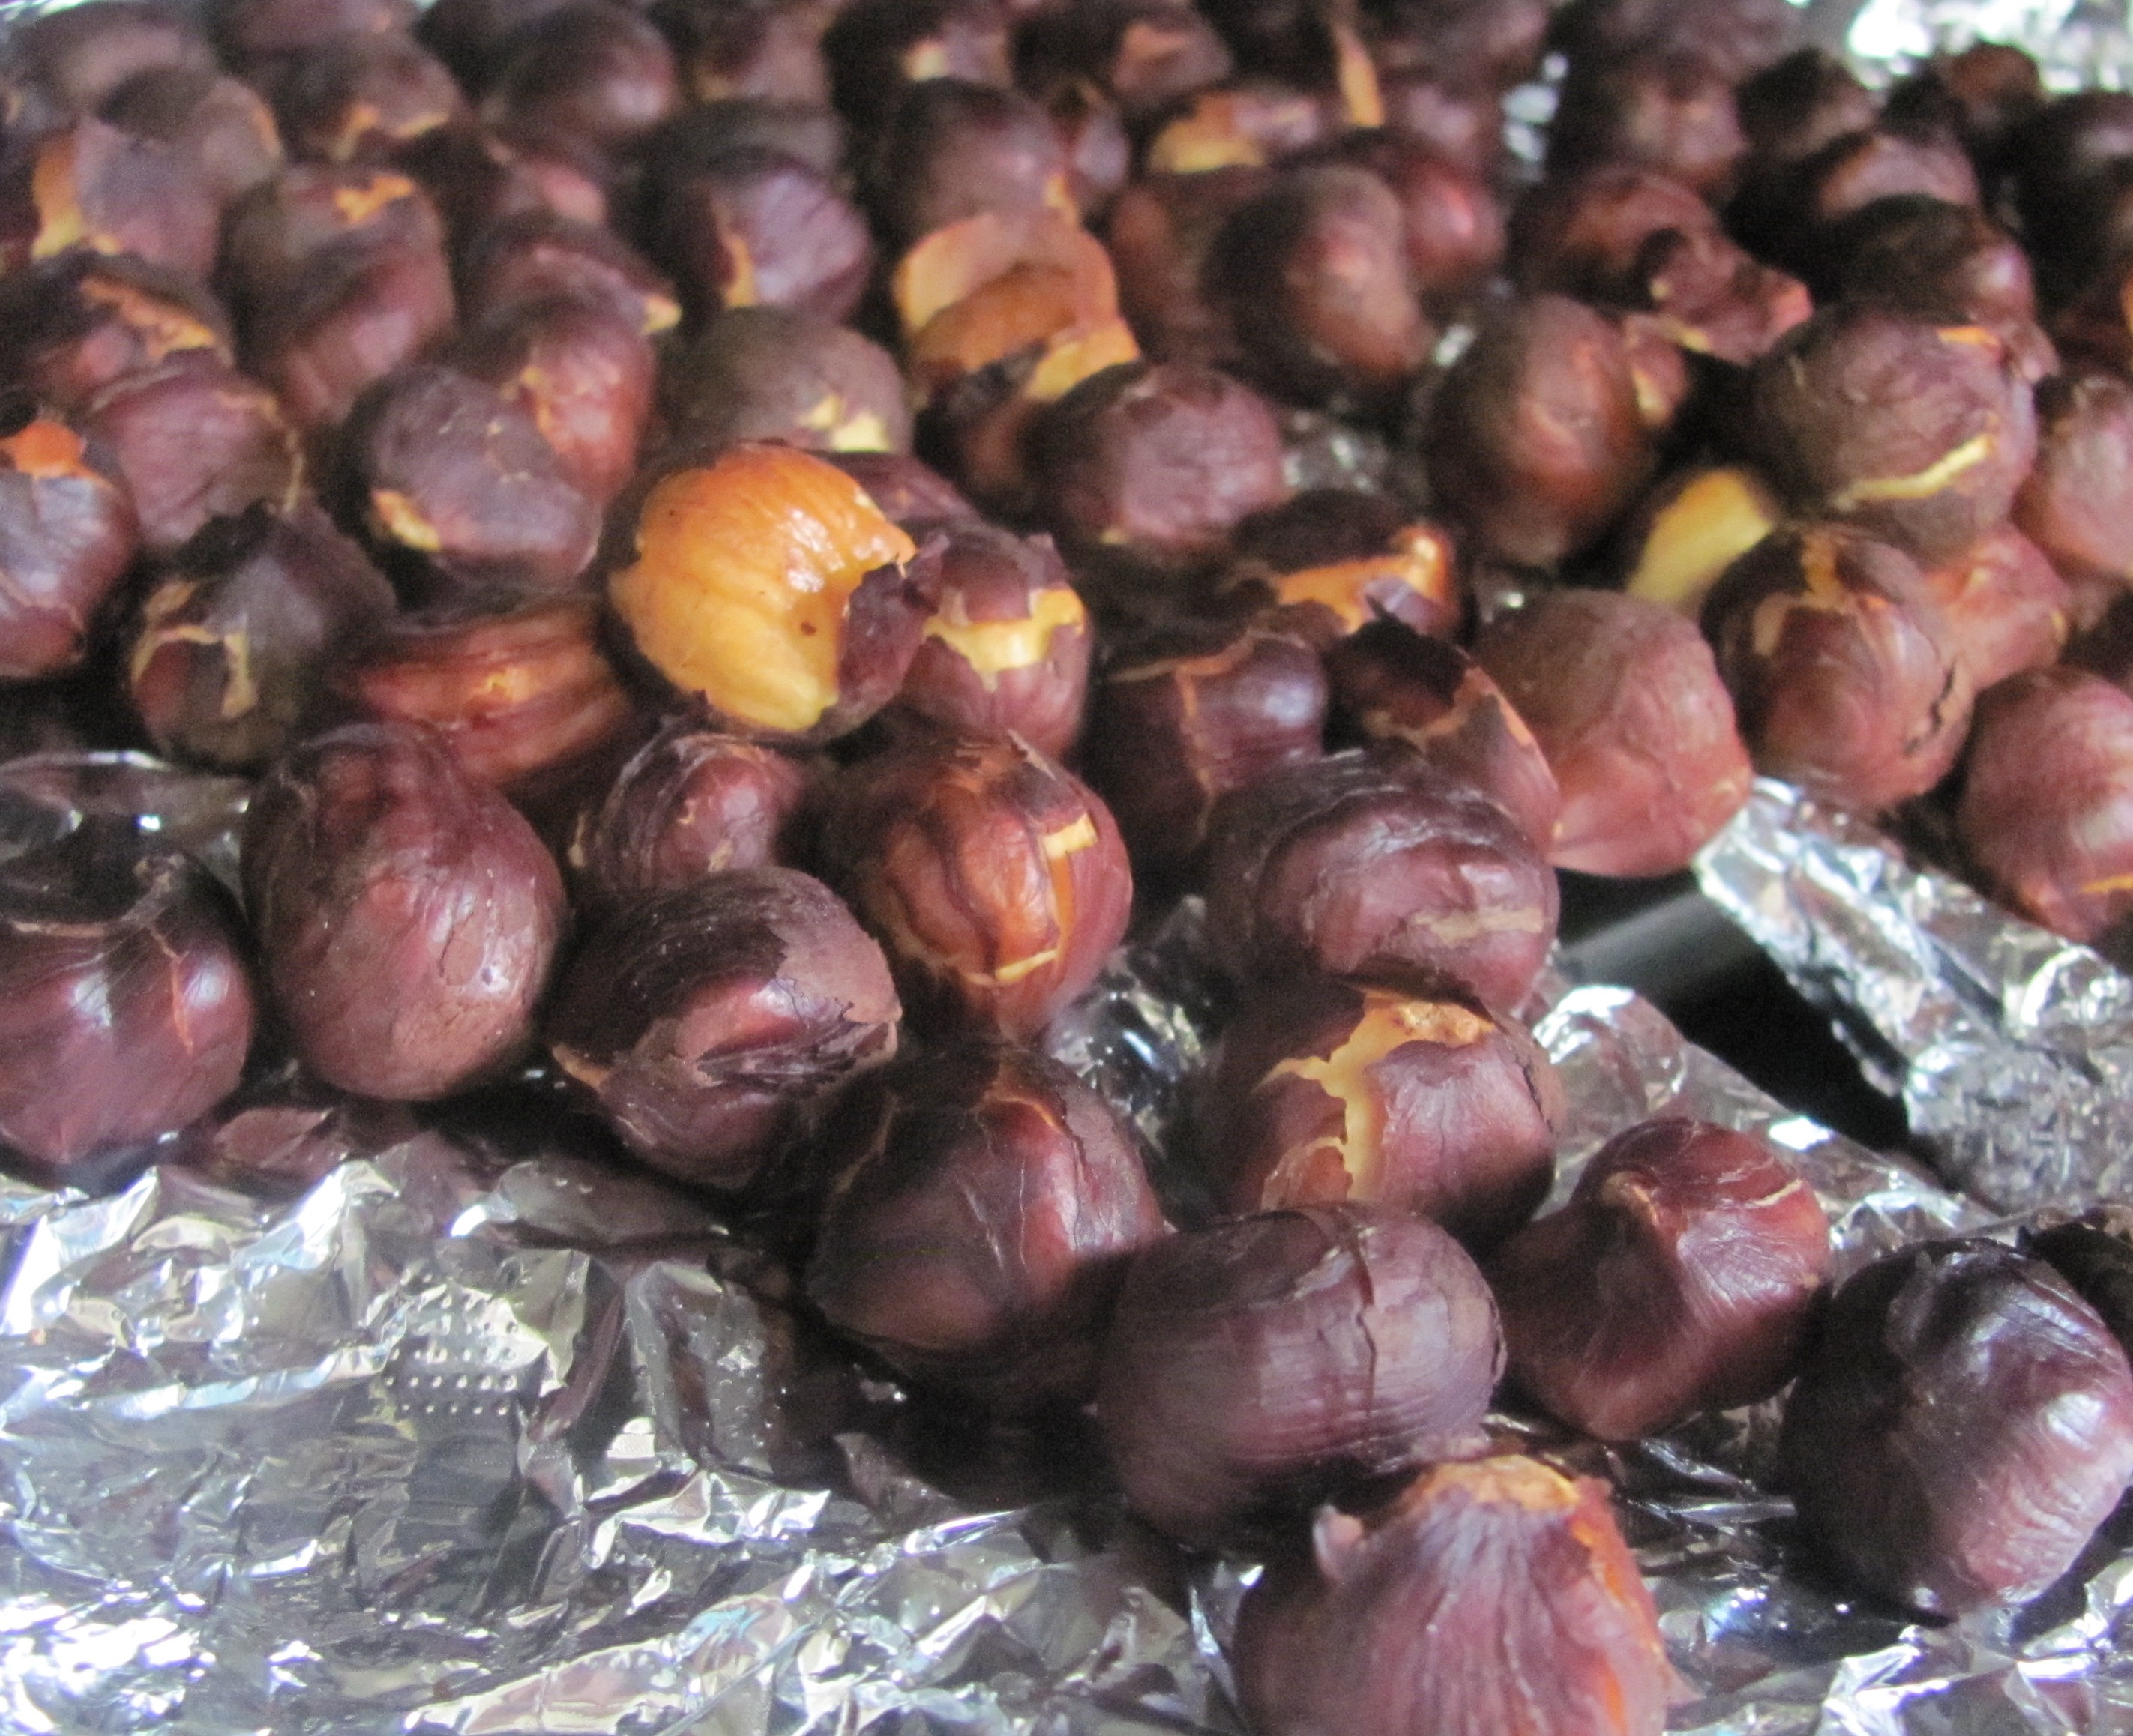
First up, let’s get started with preparing the hazelnuts. You can toss them in a toaster oven or just put them in a pan on medium heat until they turn dark and the skin starts to split. This will help us to peel them later. Make sure not to burn them though.

Once the hazelnuts have cooled down enough for you to handle, grab a handful and start rubbing them together. The friction of the hazelnuts rubbing together should remove all of the skin. This can get kind of messy, so clean the nuts over the sink or a trashcan. Then set them aside.

Combine the flower, baking soda, cornstarch, and salt in a bowl. Make sure to mix well. You don’t want to bite into a cookie and get a nice junk of baking soda. (Speaking from experience here). Also, make sure to measure out the flower properly. I have a feeling that I used a bit too much flower because, as you will see later, my cookies didn’t spread in the oven as much as in the original recipe.

In a medium size bowl, whisk together the melted butter, brown sugar, and white sugar until there are no more big clumps of sugar. Whisk your egg and egg yolk into your sugar mixture. Then whisk in the vanilla extract. Few, that was a lot of whisking.
I find that most American recipes use way too much sugar for my taste. I used a little less than half a cup of each sugar. I would have used less but I was also using 72% dark chocolate, so I figured that the bitterness of the chocolate and the sugar should balance out quite nice. It did. Most chocolate chip recipes use room temp. butter. The reason we are melting ours is because this will make the cookies even chewier. Also, you don’t have to use an electric mixer.

Dump your wet ingredients into your dry ingredients and use a rubber spatula to mix everything up. This will take a couple of minutes of mixing before the dough starts to come together. It will be clumpy and crumbly, so just use the back of your spatula to mold it together.

Grab a chopping board and a chef’s knife. Chop up your hazelnuts. This was harder said than done because the nuts are very round and would keep rolling off the table. There was lots of bending over and picking up. I find it was easier to work with small amounts of hazelnuts at a time, and to go slowly at first. Once you break them up a bit, the rest of the way is easy. Just chop, chop, chop away. If you are using a big chunk of chocolate or a chocolate bar, chop that up as well.

Fold the hazelnuts and chocolate into your dough. I used my hands to shape the dough into a nice ball in the center of the bowl. Cover the bowl with plastic and put it in the refrigerator to chill out for about two hours. You need to do this so that the dough comes together. It will also be easier to mold. You can make the dough a few days in advance and keep it in the fridge for up to three days.

Take the dough out of the fridge and let it defrost for 10 minutes. Meanwhile, go ahead and preheat the oven to 325 degrees Fahrenheit. Line a baking sheet with either parchment paper or a silicone baking sheet.
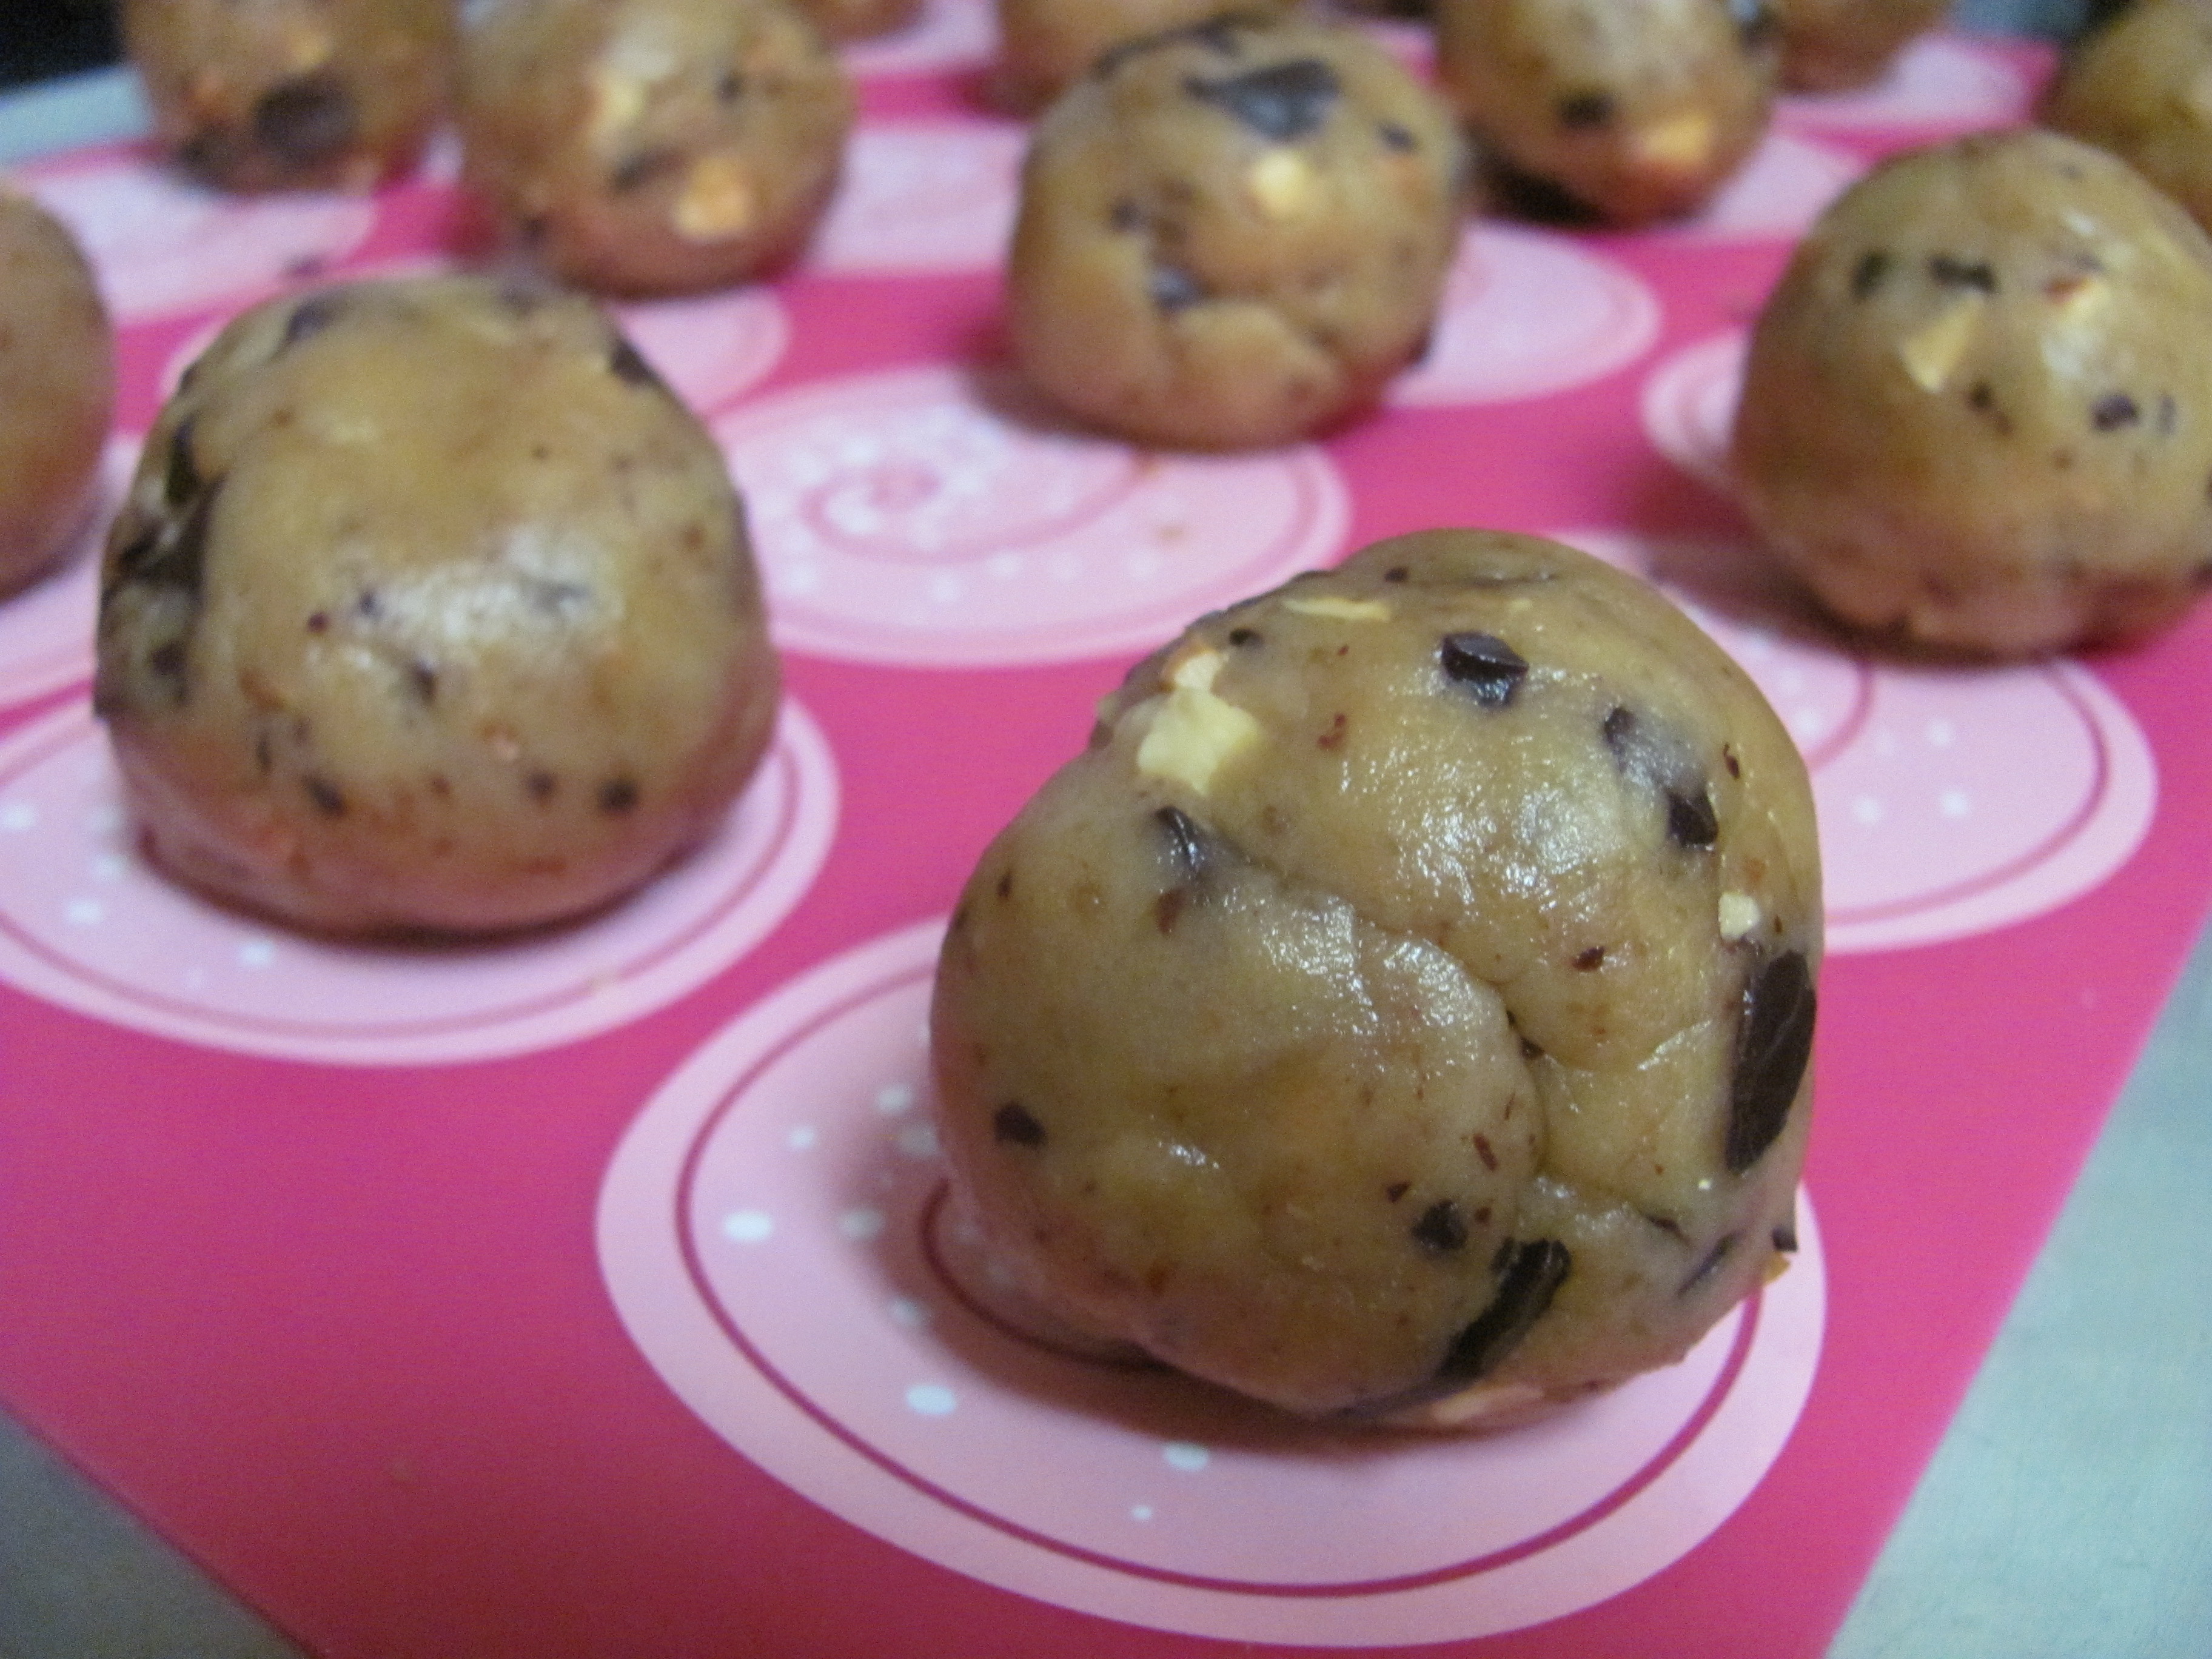
Start rolling the dough into small balls. I’m pretty sure I made my balls a little too big, which probably added to the fact that they didn’t spread so well. Place the dough balls on the baking sheet making sure to keep some distance between them. This is the opportune time to sneak a taste of your cookie dough. However, I don’t recommend this because salmonella, you know. Just saying, that didn’t stop me from tasting about a good spoonful. I’m a bad role model.
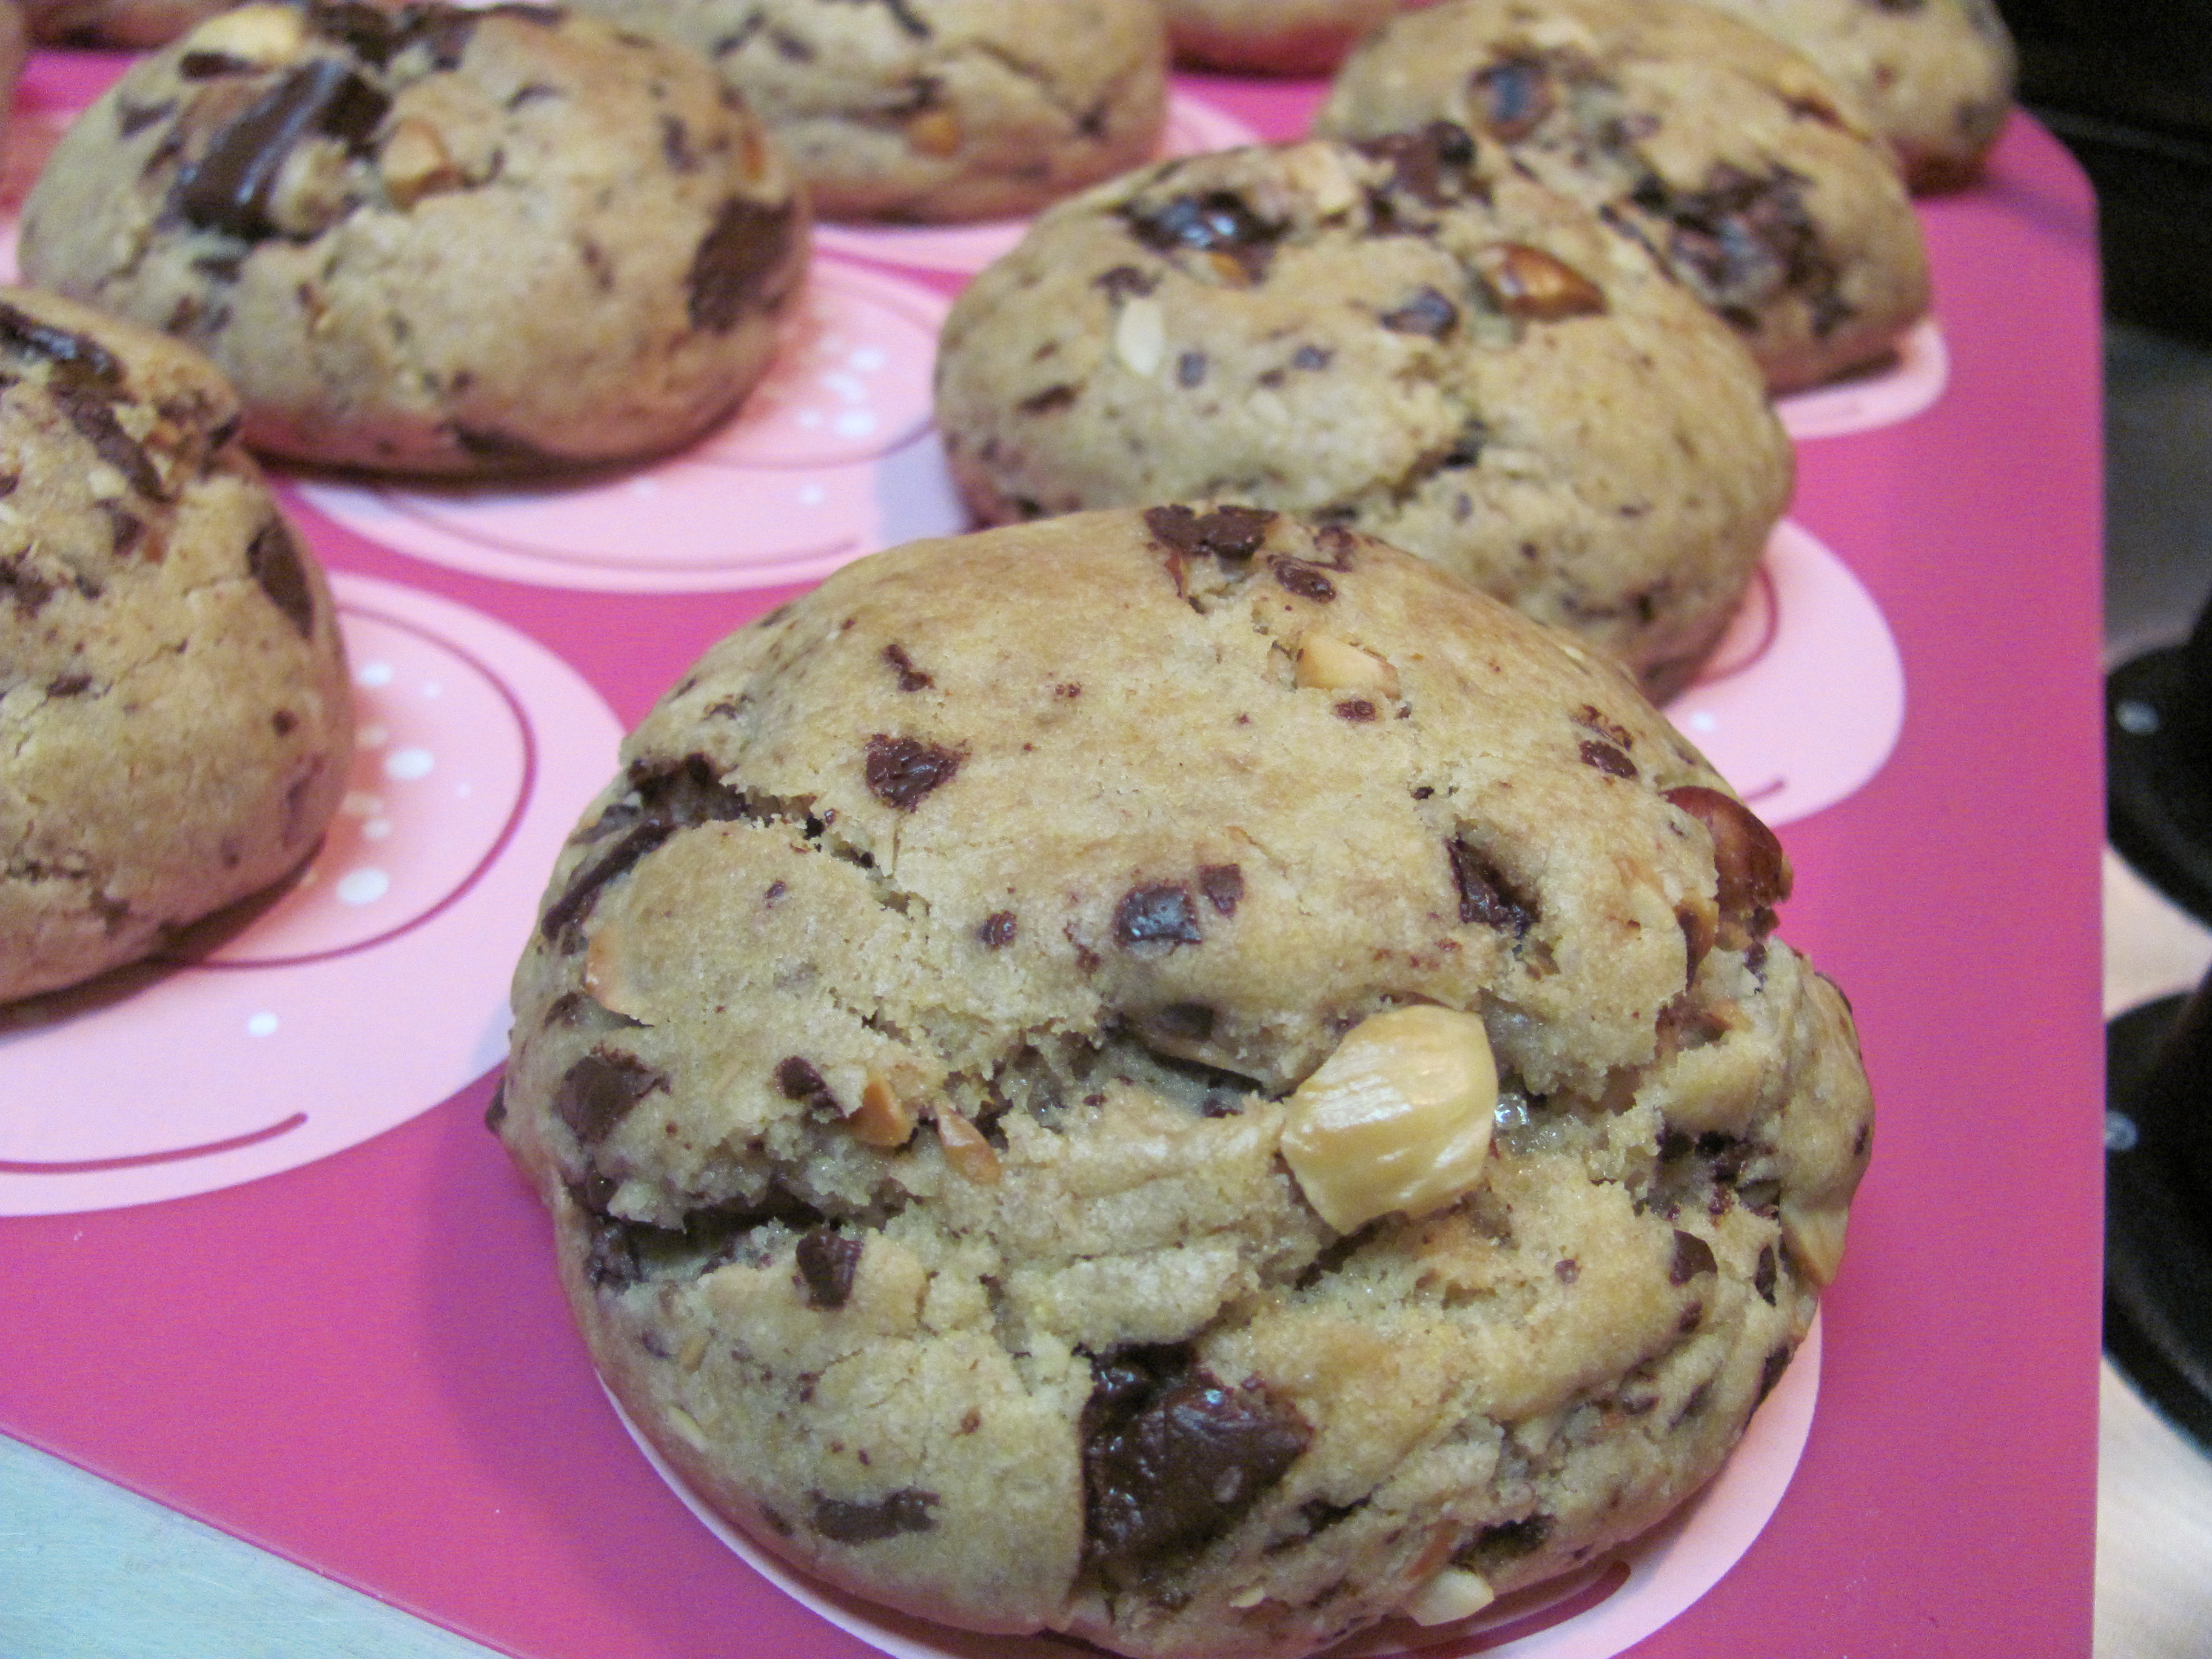
Bake the cookies for 11 to 12 minutes. When they come out, they will look undercooked which is the whole point. They should continue the baking process on the baking sheet while they cool. I got skeptical at this point and held my cookies in the oven for another 5 minutes. This is why my cookies are not as chewy as the ones in the original recipe. Just trust me here. If you want supper chewy cookies, then hold them in the oven for 12 minutes tops. Let the cookies rest on the cookie sheet for 10 minutes then transfer them to a wire rack to cool completely.
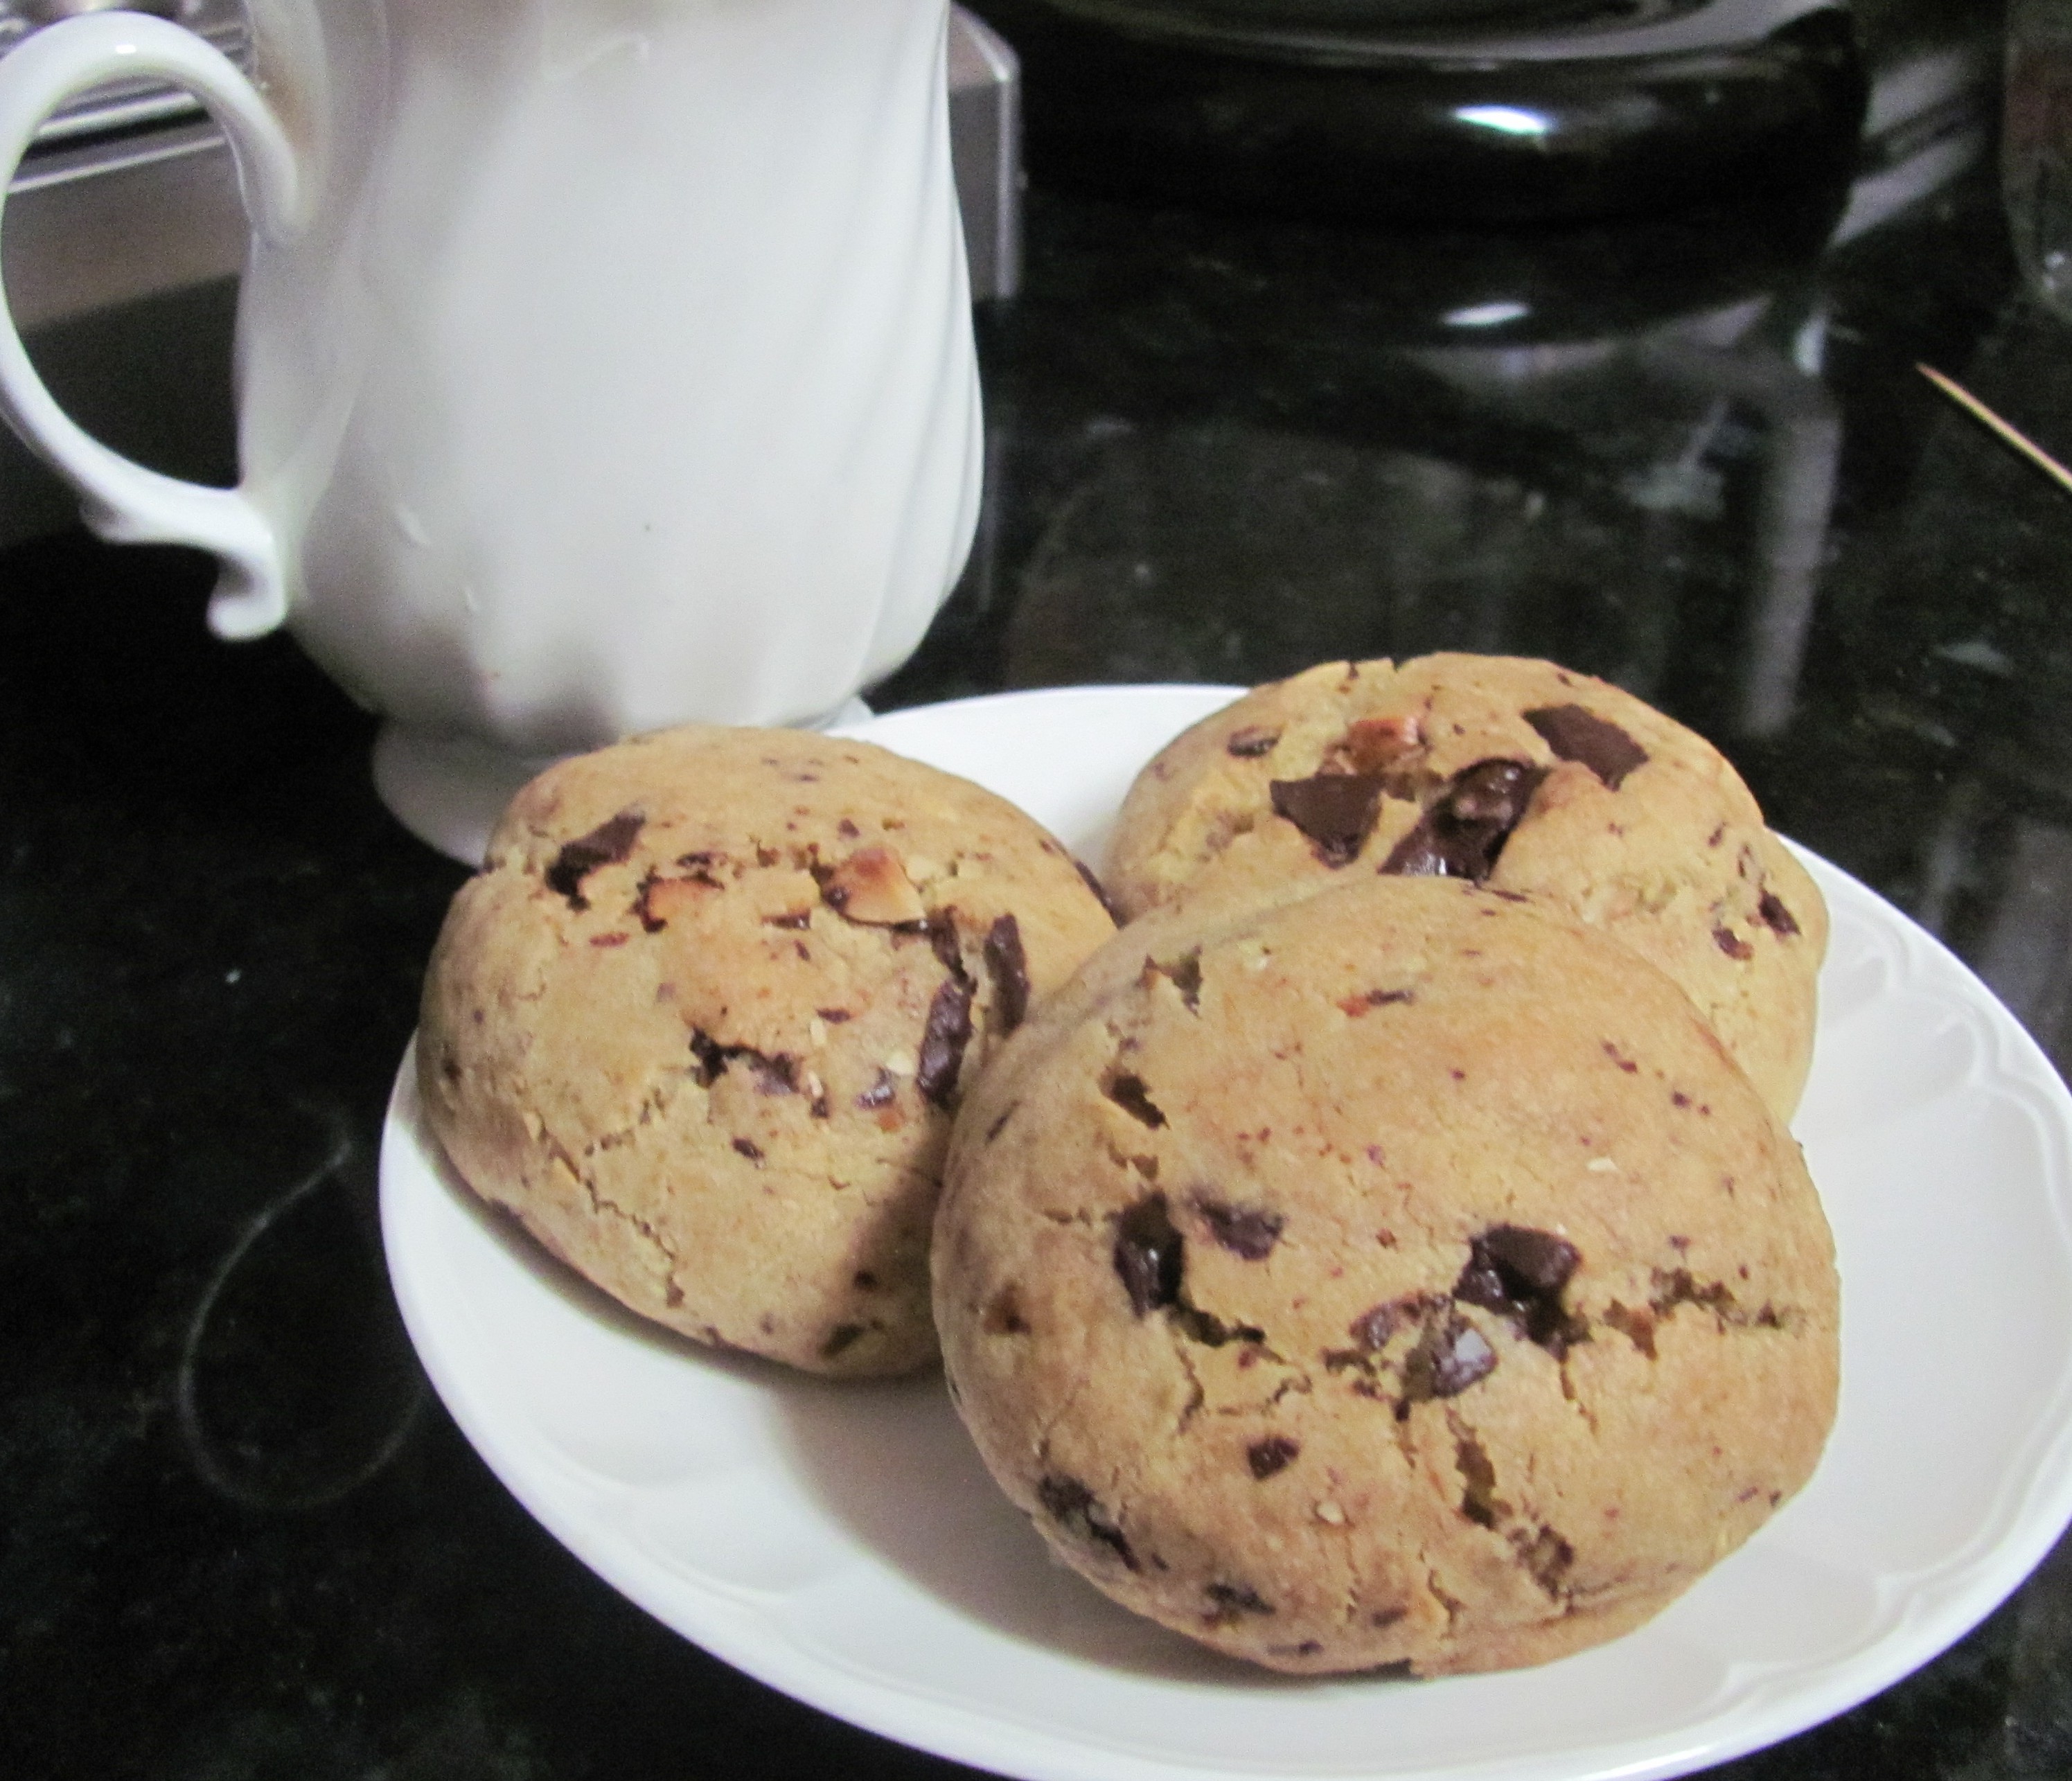
Now grab a cookie or maybe two or three. Pair them with a tall glass of milk or some steaming tea. Sit down, relax, and enjoy the chewy goodness and melting chocolate!
Hazelnut Chocolate Chip Cookies
Ingredients:
- 1/2 cup of hazelnuts

- 2 and 1/4 cups (280 grams) all-purpose flour
- 1 teaspoon baking soda
- 1 and 1/2 teaspoons cornstarch
- 1/2 teaspoon salt
- 3/4 cup (1.5 sticks or 170 grams) unsalted butter, melted
- 1/2 cup light brown sugar, loosely packed
- 1/2 cup granulated sugar
- 1 large egg + 1 egg yolk*
- 2 teaspoons vanilla extract
- 3/4 cup chocolate chips or chocolate chunks

Directions:
- Toast the hazelnuts in either a toaster oven or in a pan on the stovetop until they are dark and the skin is splitting. Let cool. Rub the hazelnuts together until the skin comes off.
- Toss together the flour, baking soda, cornstarch and salt in a large bowl. Set aside.
- In a medium size bowl, whisk the melted butter, brown sugar, and white sugar together until no brown sugar lumps remain. Whisk in the egg, then the egg yolk. Finally, whisk in the vanilla.
- Pour the wet ingredients into the dry ingredients and mix together with a large spoon or rubber spatula. The dough will be very soft, yet thick.
- Chop up the hazelnuts and chocolate (if you are not using chocolate chips)
- Fold in the chocolate and hazelnuts. They may not stick to the dough because of the melted butter, but do your best to have them evenly dispersed among the dough. Cover the dough and chill in the refrigerator for 2 hours, or up to 3 days. Chilling is mandatory.
- Take the dough out of the refrigerator and allow to slightly soften at room temperature for 10 minutes. Preheat the oven to 325F degrees. Line two large baking sheets with parchment paper or silicone baking mats. Set aside.
- Roll the dough into balls, about 3 Tablespoons of dough each. The dough will be crumbly, but the warmth of your hands will allow the balls to stay intact. Roll the cookie dough balls to be taller rather than wide, to ensure the cookies will bake up to be thick. Put the balls of dough onto each cookie sheet. Press a few more chocolate chips/chunks on top of the dough balls for looks, if desired.
- Bake the cookies for 11-12 minutes. The cookies will look very soft and underbaked. They will continue to bake on the cookie sheet. Allow to cool on the cookie sheet for 10 minutes before moving to a wire rack to cool completely.
Cookies stay soft and fresh for 7 whole days at room temperature. Cookies may be frozen up to 3 months. Rolled cookie dough may be frozen up to three months and baked in their frozen state for 12 minutes.
*Room temperature egg + egg yolk are preferred for even disbursement. Typically, if a recipe calls for room temperature or melted butter, it’s a good idea to use room temperature eggs as well. To bring eggs to room temperature quickly, simply place the whole eggs into a glass of warm water for 5 minutes..


